
How to do your nails at home with press-on nails
 By the Velada team · 17 November 2026 · 4 min read
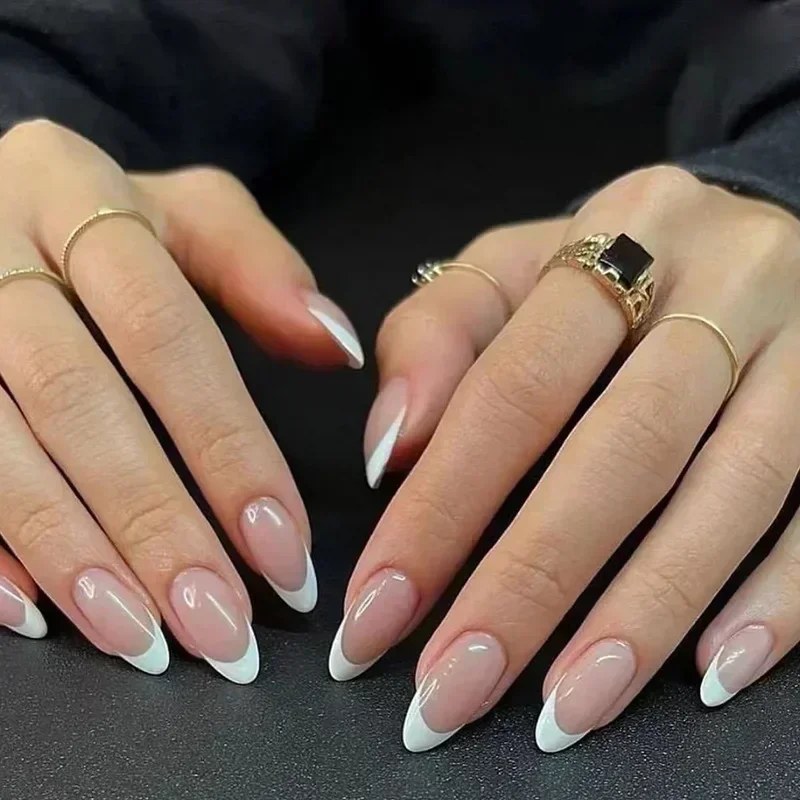
How do you do your nails at home without a lamp or an appointment? With press-on nails: you clean your nail, choose the size for each finger and stick them on with glue or adhesive tabs. Here is what you need, the step by step, how to choose between glue and tabs, and how to take them off without damaging your nail.
In this guide
What do I need to do my nails at home?
- A set of press-on nails in several sizes.
- Nail glue or double-sided adhesive tabs.
- A small file and a cuticle stick.
- A wipe or a cotton pad to clean the nail.
- About 15 minutes in good light.
No lamp, no gel, no drying time. That is the difference from gel or semi-permanent nails.
Step by step: how to do your nails at home with press-on nails
- Wash your hands and dry them well. No hand cream: oil is what makes them lift most.
- Push back the cuticle with the stick and lightly file the surface of your nail, just to remove the shine.
- Choose the sizes before you stick. Try each nail over yours: it should cover it from side to side without touching the skin. If you are between two, choose the wider one and file the sides.
- Lay them out in order, from thumb to little finger, so you don't get mixed up once one hand is done.
- Stick: a thin drop of glue on your nail (or a tab the size of your nail), place the press-on from the cuticle towards the tip and press for a few seconds.
- Wait before getting your hands wet with hot water.
Glue or adhesive tabs?
It depends on your plans. Both work; what changes is the hold and how easy they are to take off.
| Glue | Adhesive tabs | |
|---|---|---|
| Hold | More | Less |
| To take them off | Warm soapy water, a few minutes | Easier, from the side |
| Which plan | A long wedding, a night of dancing | A dinner, or to test your size |
| Watch out for | Can irritate skin and eyes: read the label | If your event is long, it may not be enough |
We don't give hours or days for either: we haven't tested them at a real event yet, and it depends a lot on your nail and what you do with your hands.
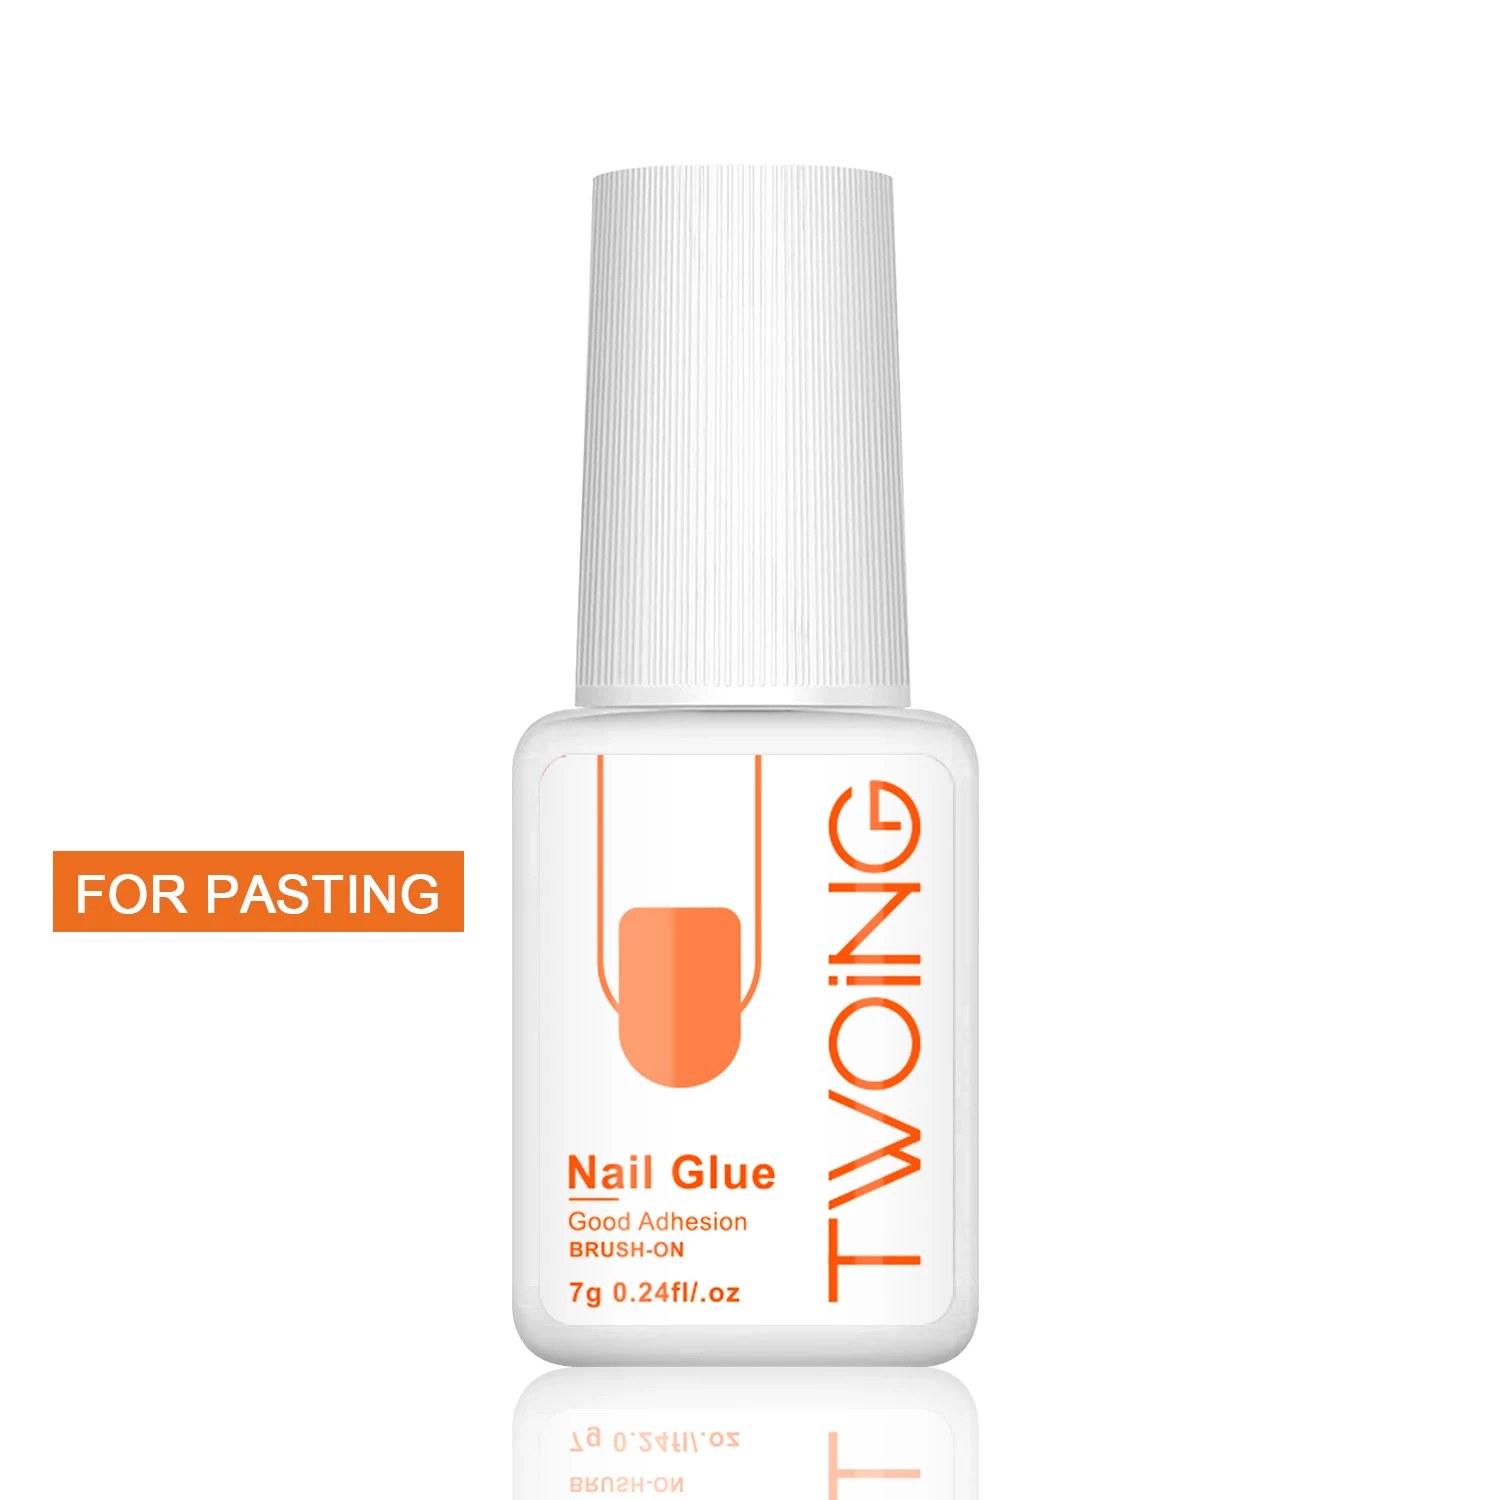
Glue for press-on nails 7 g
A bottle with a brush for your bag: the spare in case a nail lifts. Read the label before you use it.
6,95 €
Would you rather have something that comes off more easily? Have a look at the adhesive tabs for press-on nails: 240 tabs on 10 sheets. Everything is in glue for press-on nails.
How do I take them off without damaging my nail?
- Soak your hands for a few minutes in warm, soapy water.
- Lift each nail from the side with the stick, little by little.
- If it resists, go back to the water. Never pull.
- Gently file away any leftover glue.
Common mistakes the first time
- Choosing sizes that are too big. If the nail touches your skin, it lifts sooner.
- Putting on hand cream just before. Do it afterwards, never before.
- Too much glue. A thin drop is enough; any extra seeps out at the sides.
- Starting on the day of the event. Do a trial run first so you know your size and how long it takes you.
Questions
Do I need a lamp or gel?
No. Press-on nails already come with the colour and the design. All you need is glue or tabs.
How long do they stay on?
We don't give a number of days yet: first we will wear them to a real event and tell you how it went. Keep the glue in your bag in case one lifts.
Can I reuse them?
If you remove them carefully and clean off the glue, you can keep them in their box. We haven't tested this with our sets yet, so we can't promise how many times.
Keep reading
All guides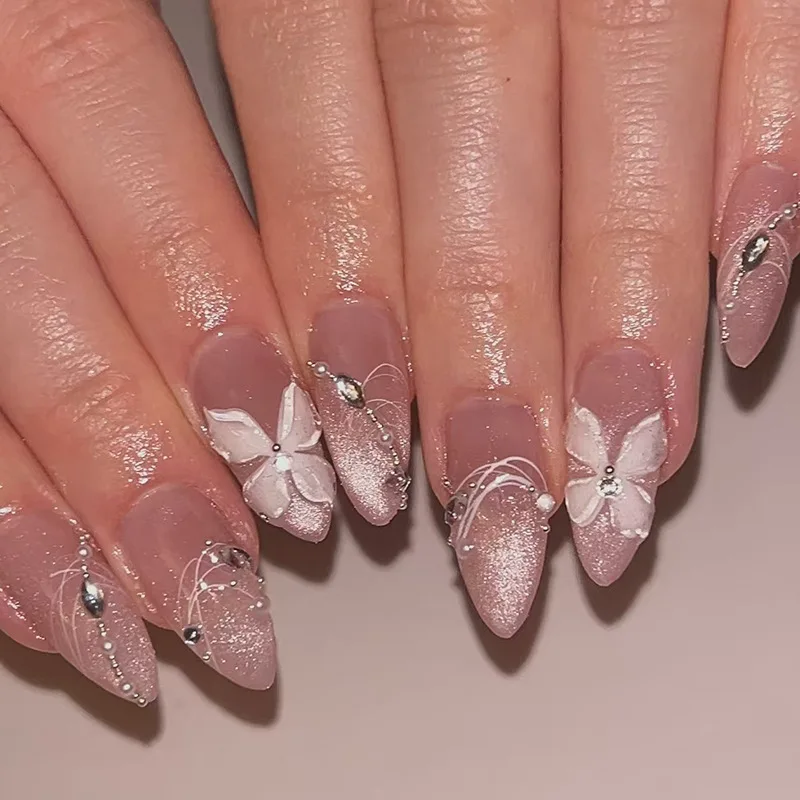
Civil wedding nails: 5 ideas for the bride and guests
Five nail ideas for a civil wedding, for the bride and for the guests, and what to wear with each look.
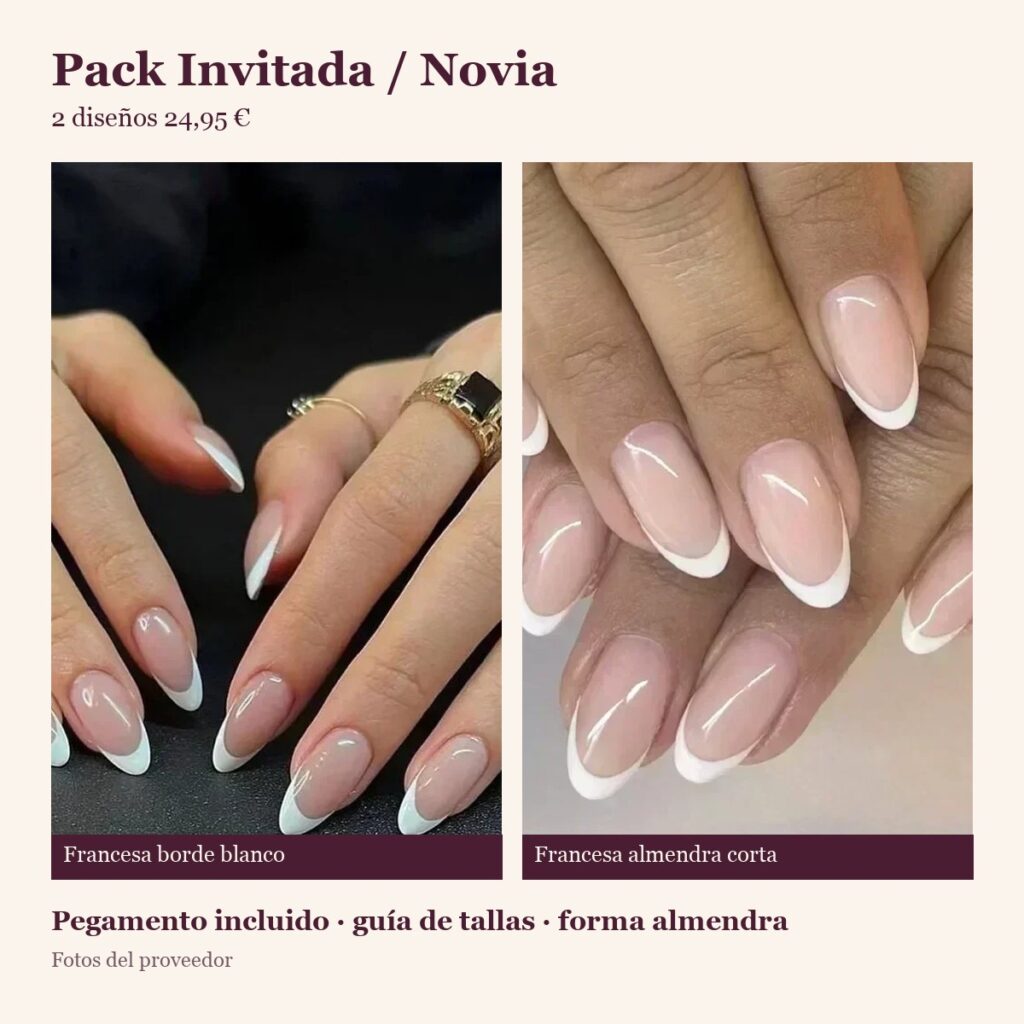
Simple, elegant bridal nails: how to choose
Shape, length and colour for bridal nails that look like your own, and the trial that calms your nerves.
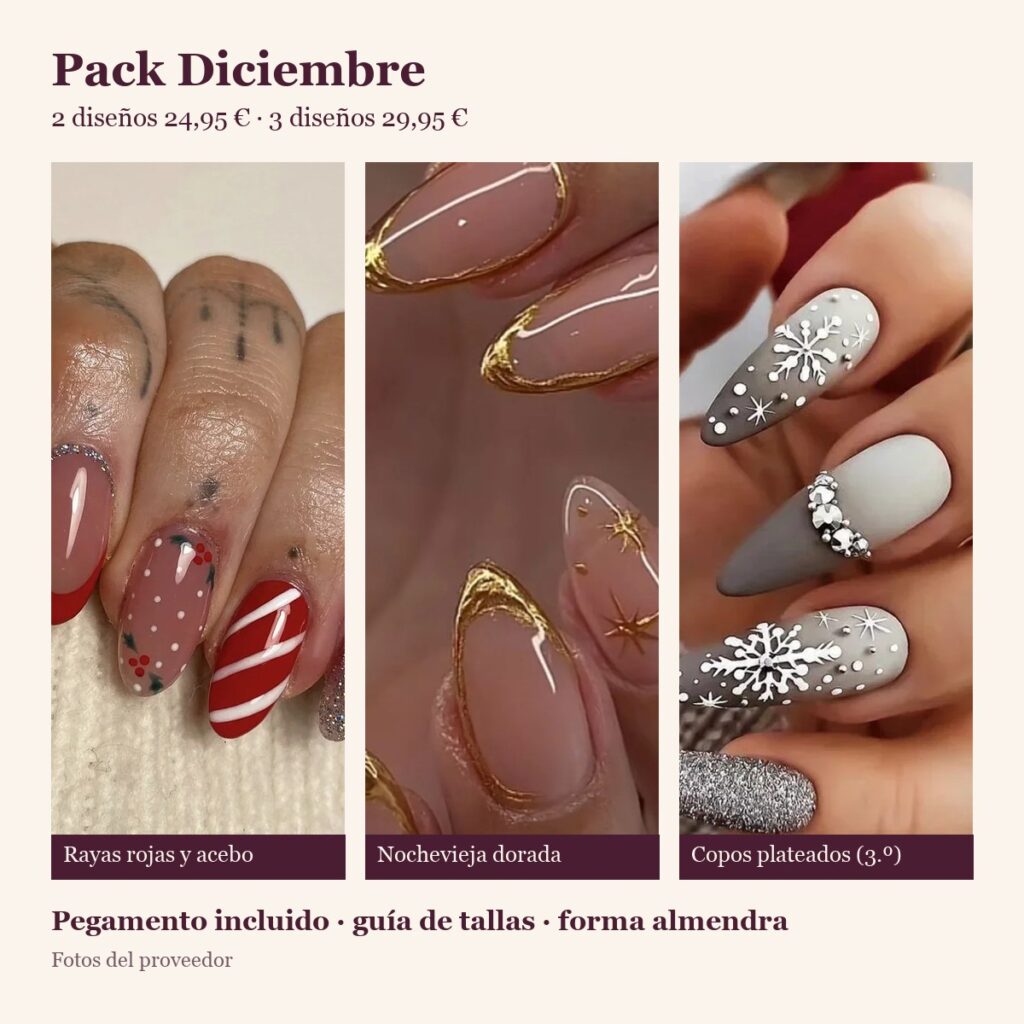
Simple Christmas nails: 5 ideas for December
Five ideas for simple Christmas nails, one for each December plan, and how to put them on at home.